
107 lines
3.9 KiB
Markdown
107 lines
3.9 KiB
Markdown
---
|
|
title: Pusher
|
|
---
|
|
|
|
# Pusher for Realtime Notifications
|
|
|
|
Pusher is a third party service being used to power the
|
|
[chat system](https://dev.to/connect) and Push Notifications on
|
|
[iOS](https://apps.apple.com/us/app/dev-community/id1439094790) &
|
|
[Android](https://play.google.com/store/apps/details?id=to.dev.dev_android)
|
|
native apps.
|
|
|
|
## Chat System
|
|
|
|
In order to use the chat functionality within your development environment, you
|
|
will need to sign up for a free-tier Pusher account and retrieve its keys. Then
|
|
you'll need to provide those keys to the Rails application.
|
|
|
|
1. [Sign up](https://dashboard.pusher.com/accounts/sign_up) or
|
|
[sign in](https://dashboard.pusher.com/) to your Pusher account.
|
|
|
|
2. Once signed in, fill in the prompt to create a new Pusher Channels app.
|
|
|
|

|
|
|
|
3. In your new Pusher Channels app, click the "App Keys" tab.
|
|
|
|

|
|
|
|
4. Change your keys accordingly (name of Pusher key -> name of our application
|
|
key):
|
|
|
|
```text
|
|
app_id -> PUSHER_APP_ID
|
|
key -> PUSHER_KEY
|
|
secret -> PUSHER_SECRET
|
|
cluster -> PUSHER_CLUSTER
|
|
```
|
|
|
|

|
|
|
|
5. Done.
|
|
|
|
## Mobile Push Notifications
|
|
|
|
These steps are required only when working with the native Apps. In order to
|
|
setup Push Notifications to mobile devices you need to create a Pusher Beams
|
|
instance and retrieve its credentials
|
|
|
|
1. [Sign up](https://dashboard.pusher.com/accounts/sign_up) or
|
|
[sign in](https://dashboard.pusher.com/) to your Pusher account.
|
|
|
|
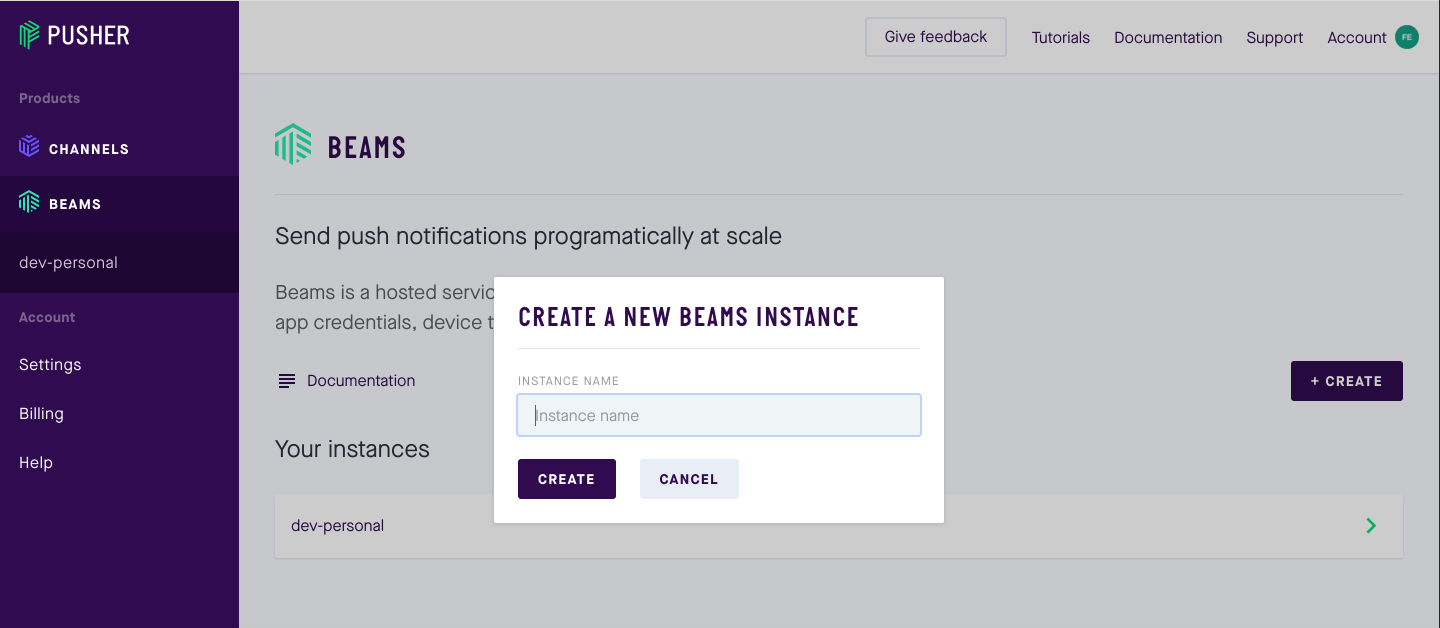
2. Once signed in, go in the "BEAMS" section on the left sidebar and fill in the
|
|
prompt to create a new Pusher Beams instance.
|
|
|
|
|
|
|
|
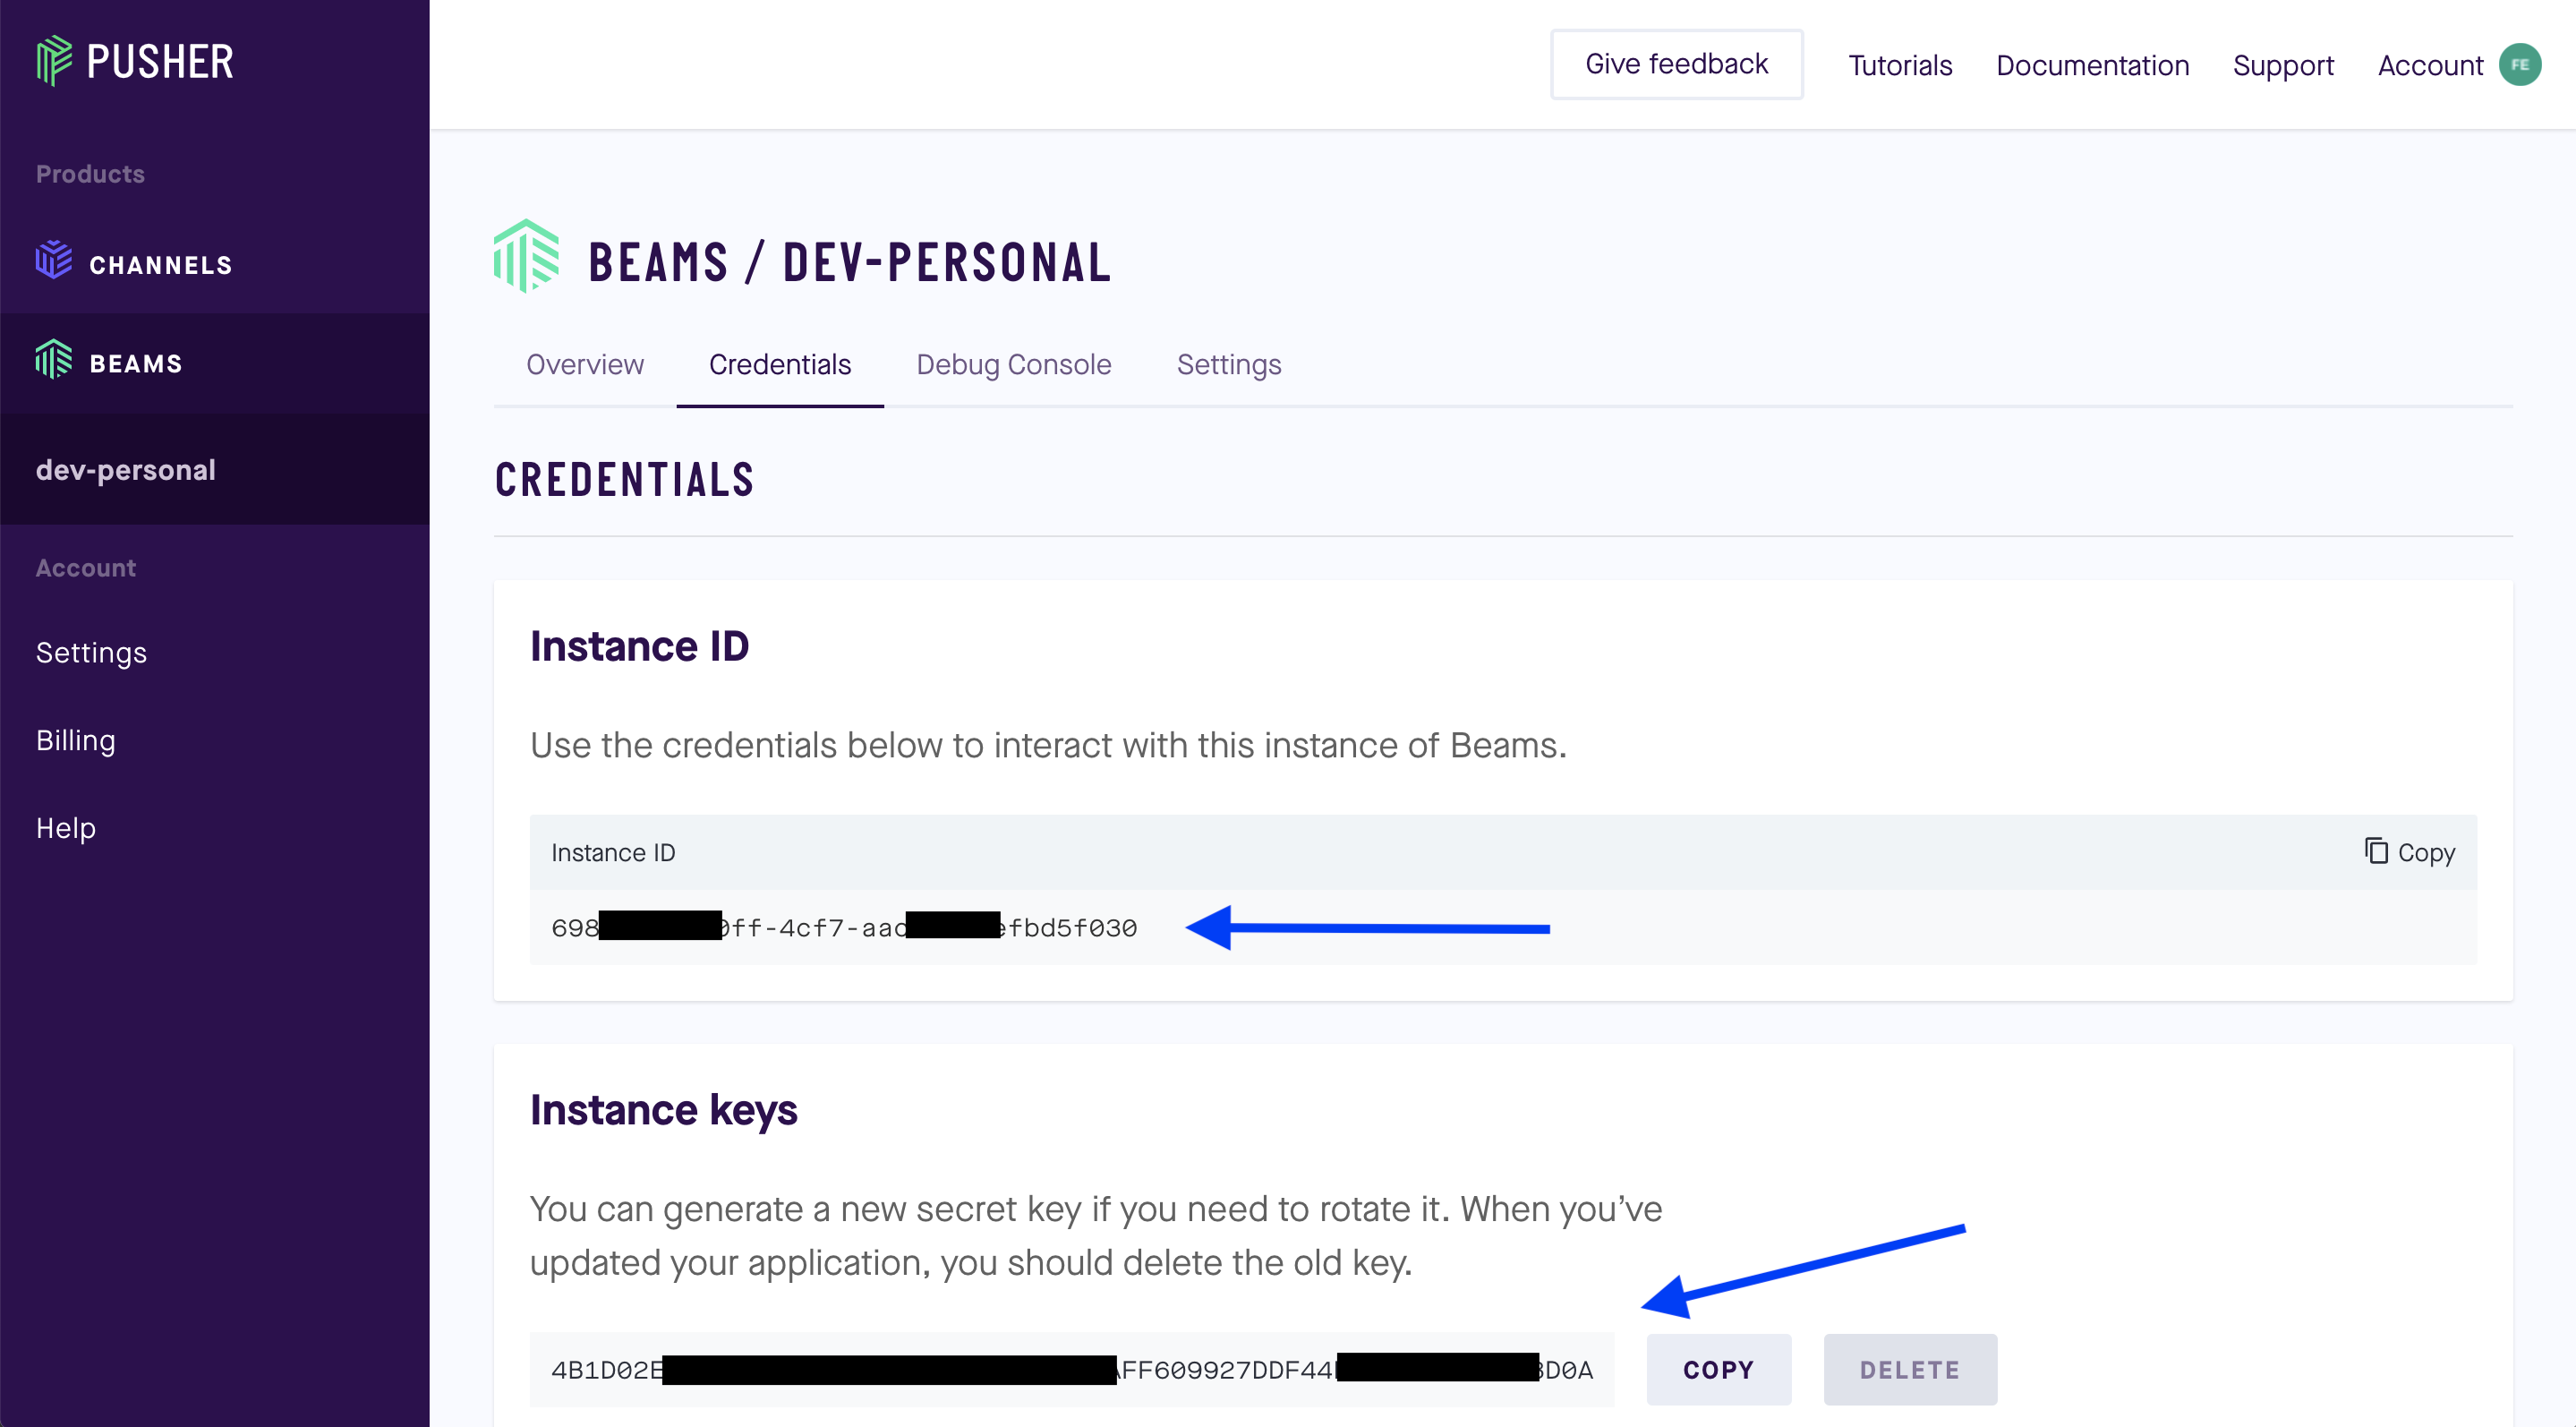
3. In your new Pusher Beams instance, click the "Credentials" tab.
|
|
|
|
|
|
|
|
4. Change your keys accordingly (name of Pusher key -> name of our application
|
|
key):
|
|
|
|
```text
|
|
Instance ID -> PUSHER_BEAMS_ID
|
|
Instance Key -> PUSHER_BEAMS_KEY
|
|
```
|
|
|
|
5. Done. You now have your server configured to use Pusher Beams.
|
|
|
|
However, in order to send Push Notifications to devices you'll need to do some
|
|
platform specific configuration as well.
|
|
|
|
### Firebase for Android Push Notifications
|
|
|
|
1. Sign up or Sign in to [Firebase](https://firebase.google.com/)
|
|
|
|
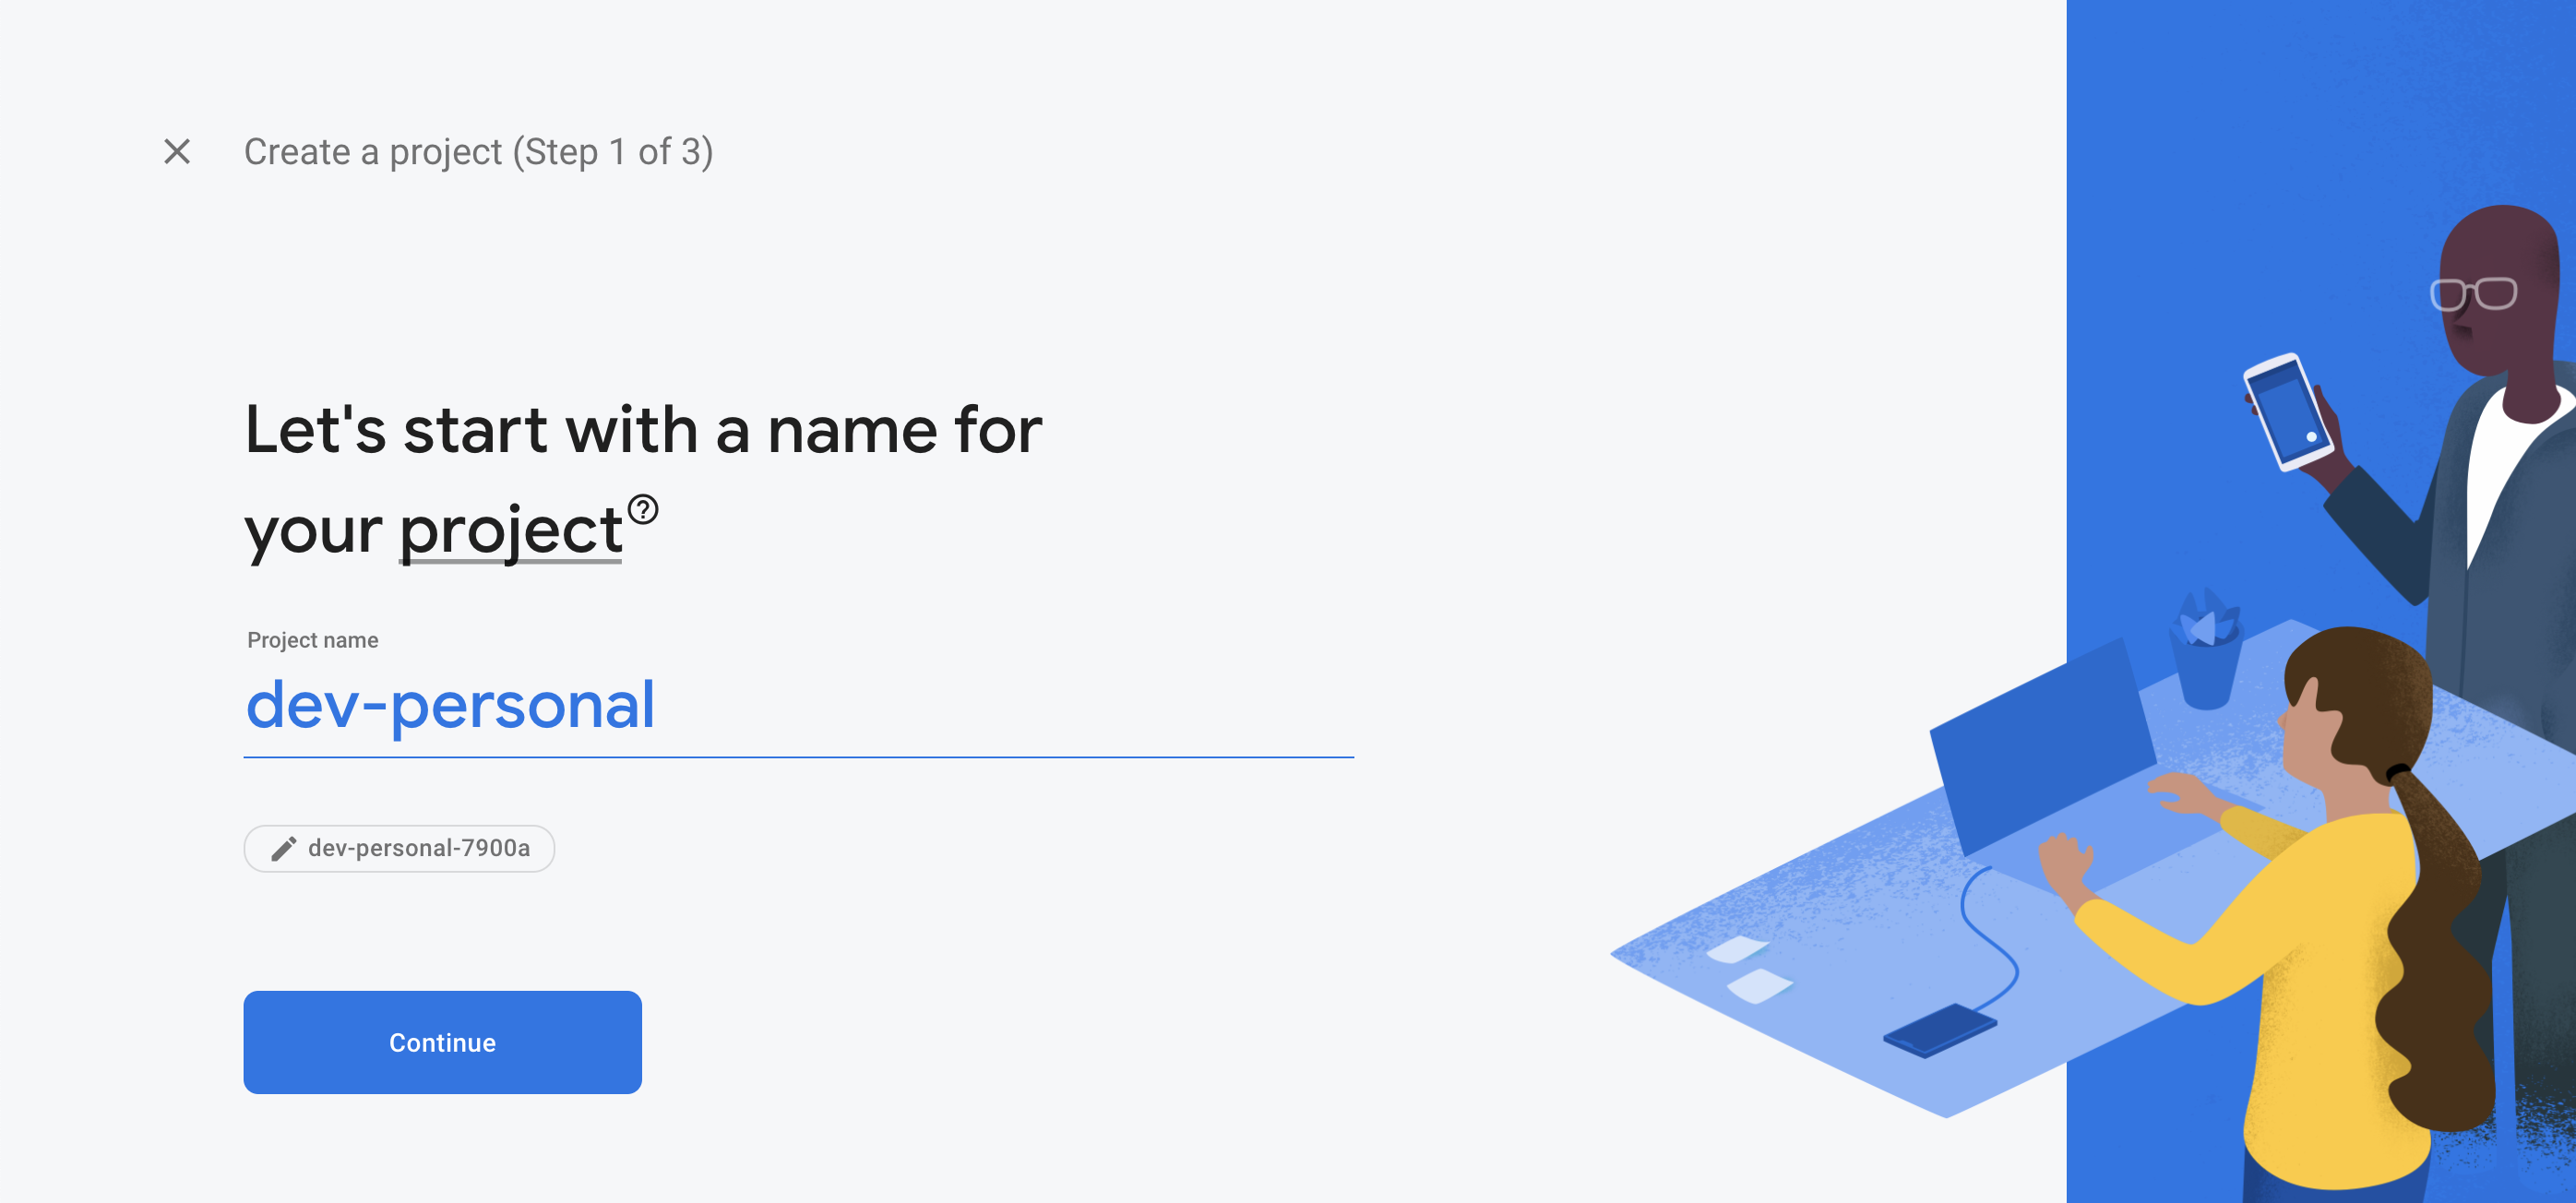
2. Add a new project. Google Analytics doesn't need to be configured for this
|
|
Push Notifications to work.
|
|
|
|
|
|
|
|

|
|
|
|
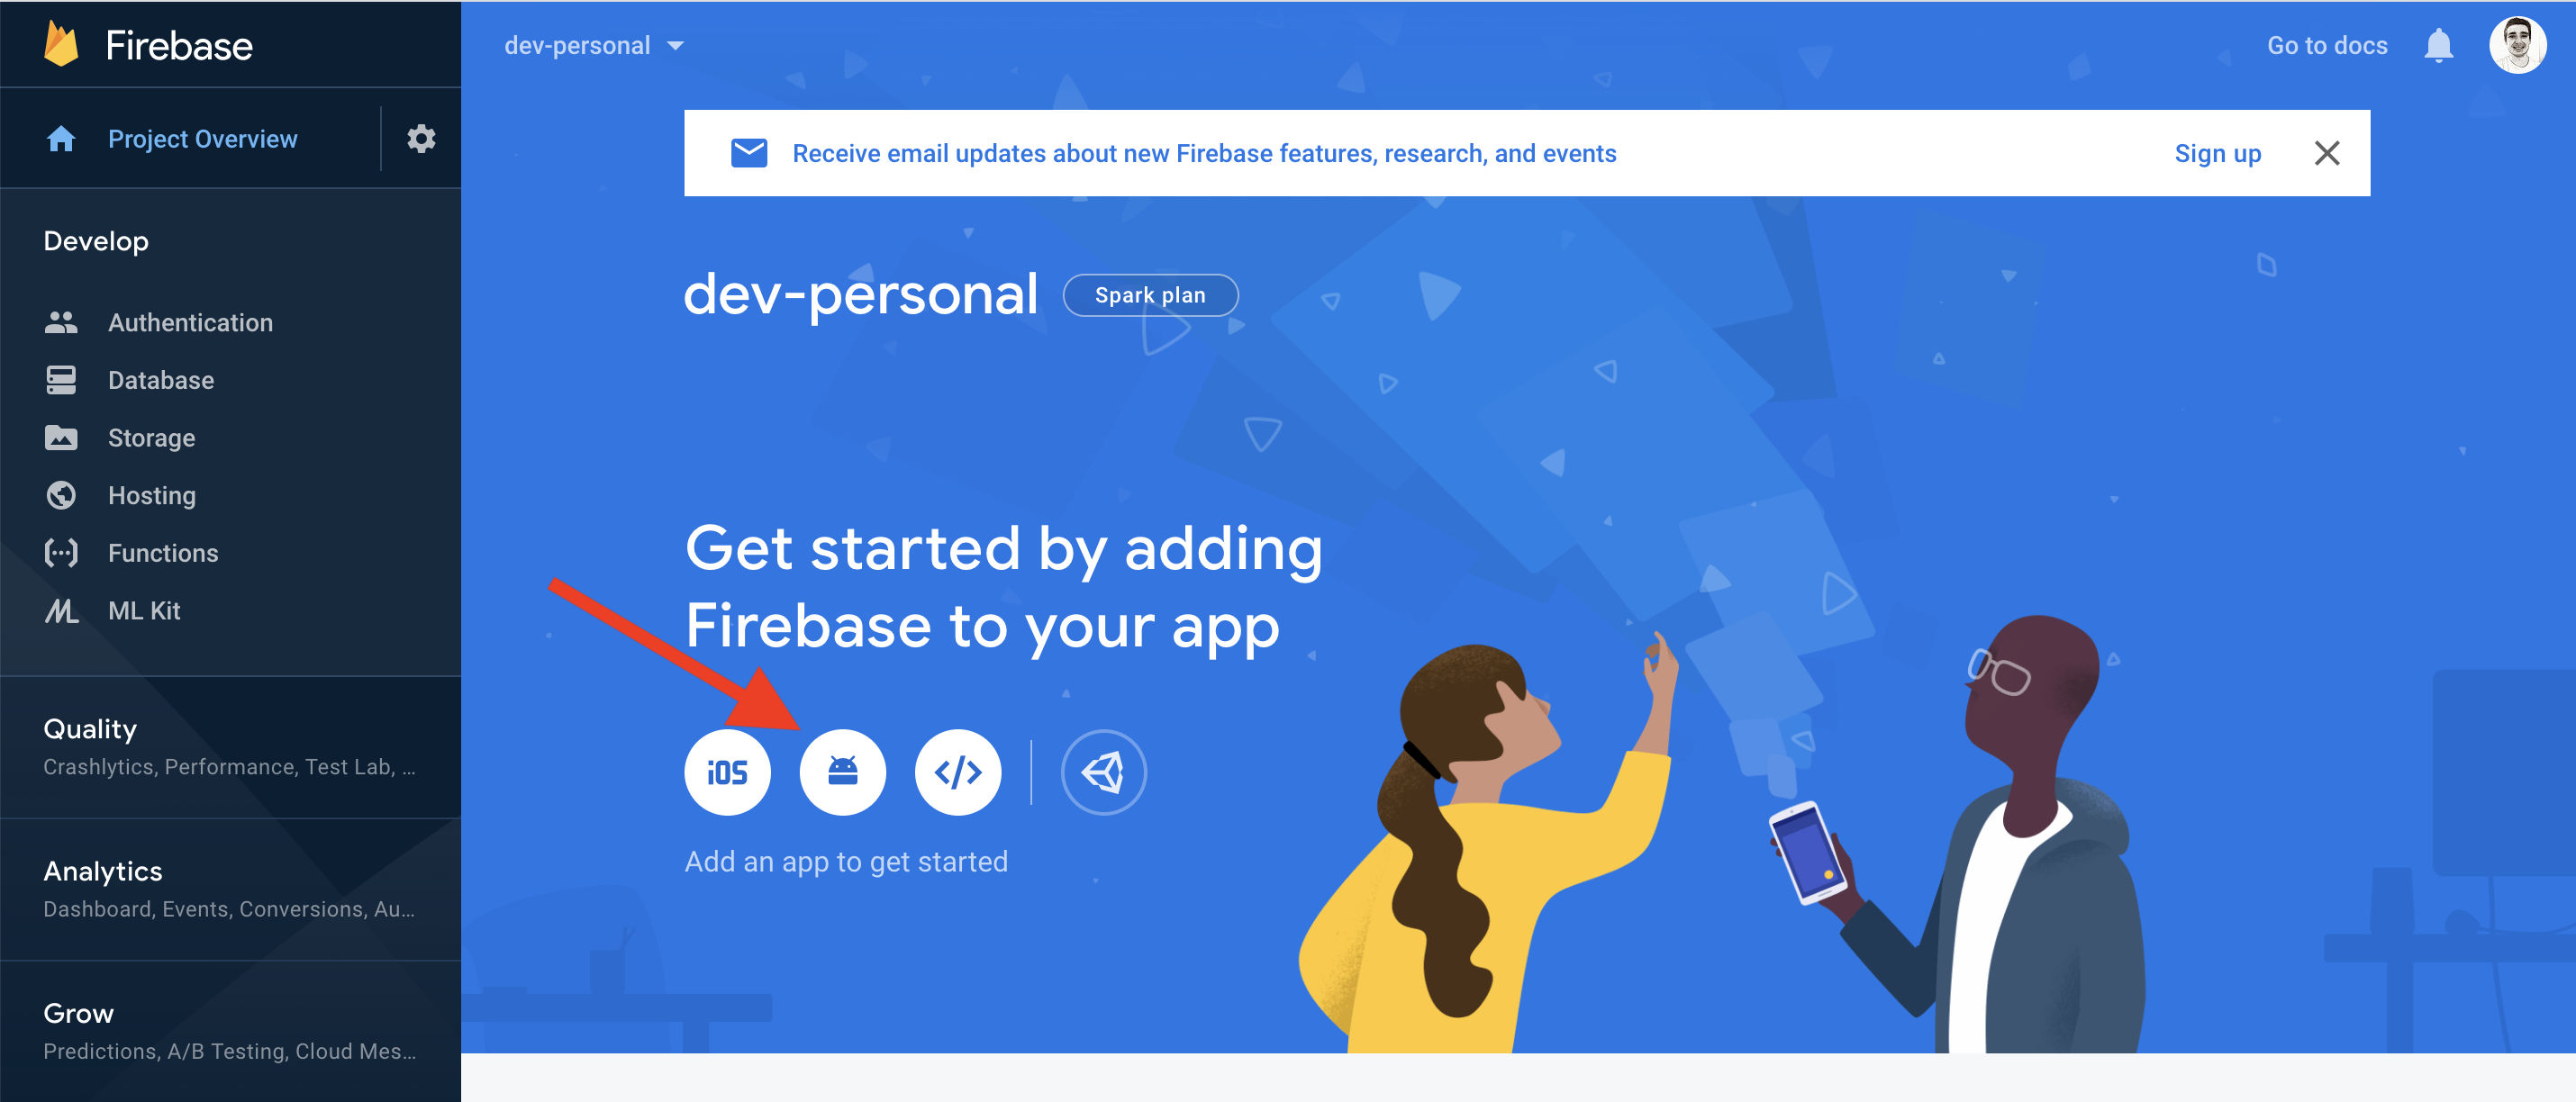
3. Add Android support for your iOS app
|
|
|
|
|
|
|
|

|
|
|
|
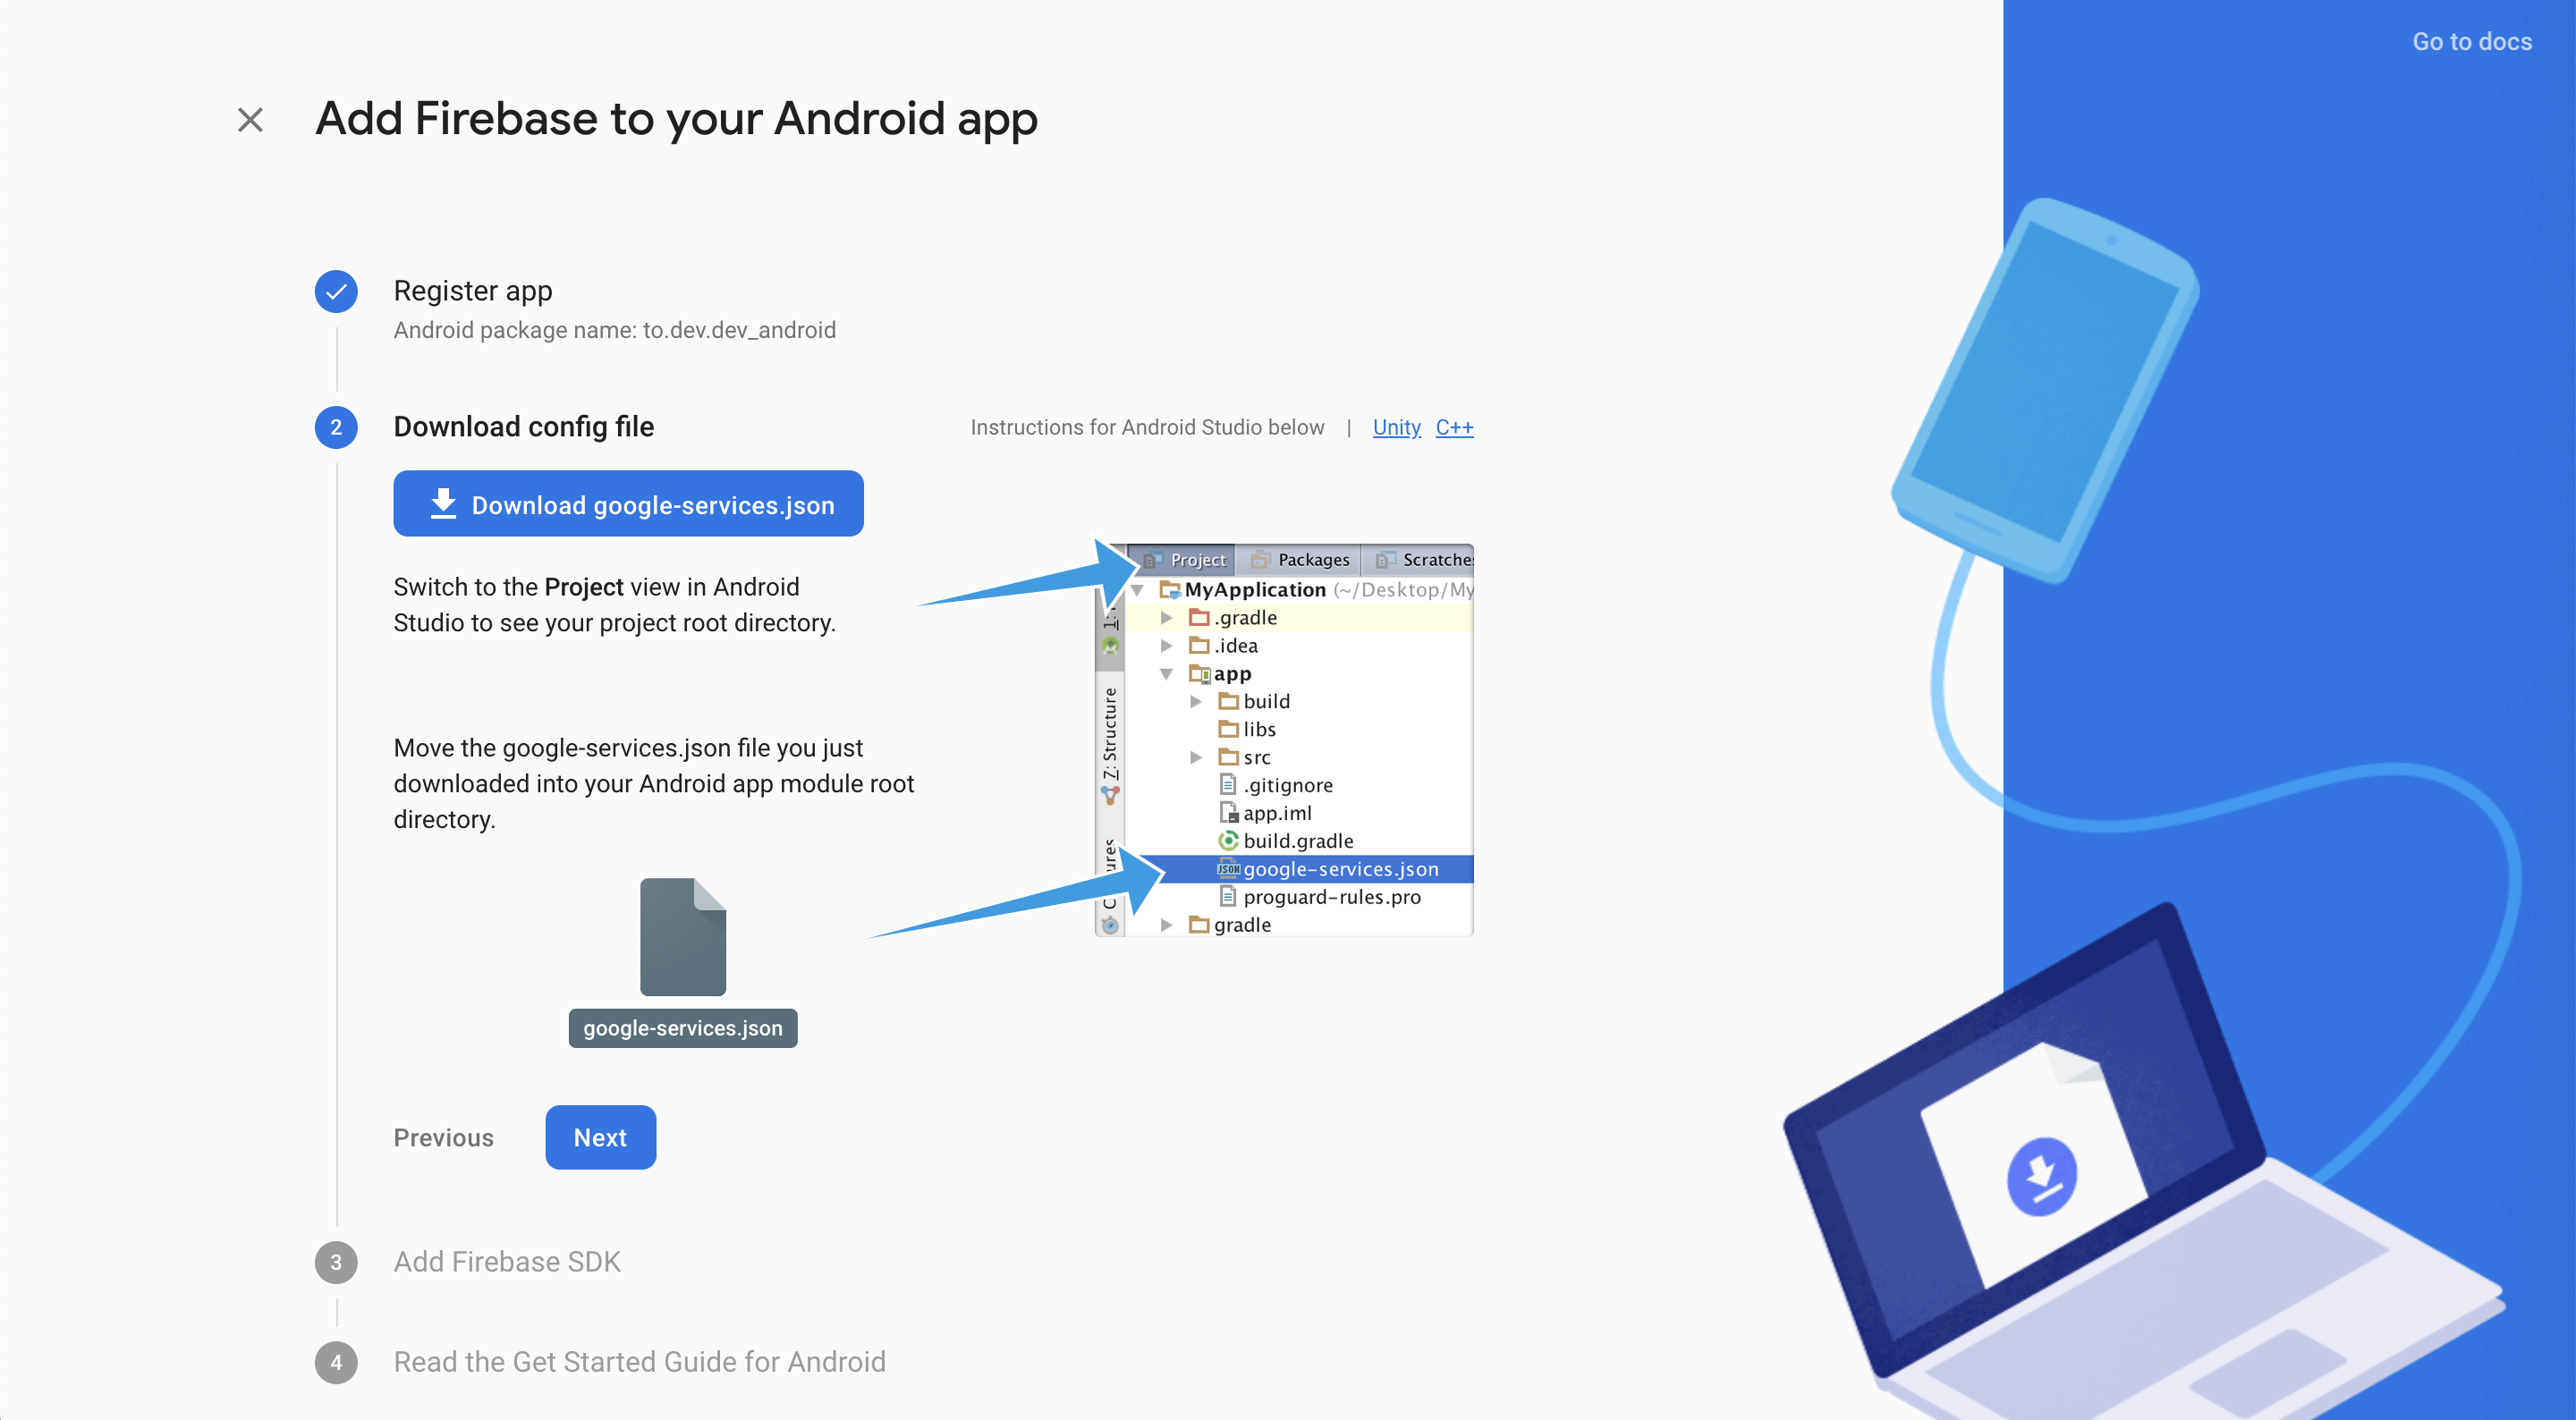
4. Download the `google-services.json` file (to be used in the Android app)
|
|
|
|
|
|
|
|
5. Finish off the next steps (not required at this moment). Now head over to
|
|
your Firebase project's settings page and copy the Server key from the "Cloud
|
|
Messaging" tab
|
|
|
|

|
|
|
|
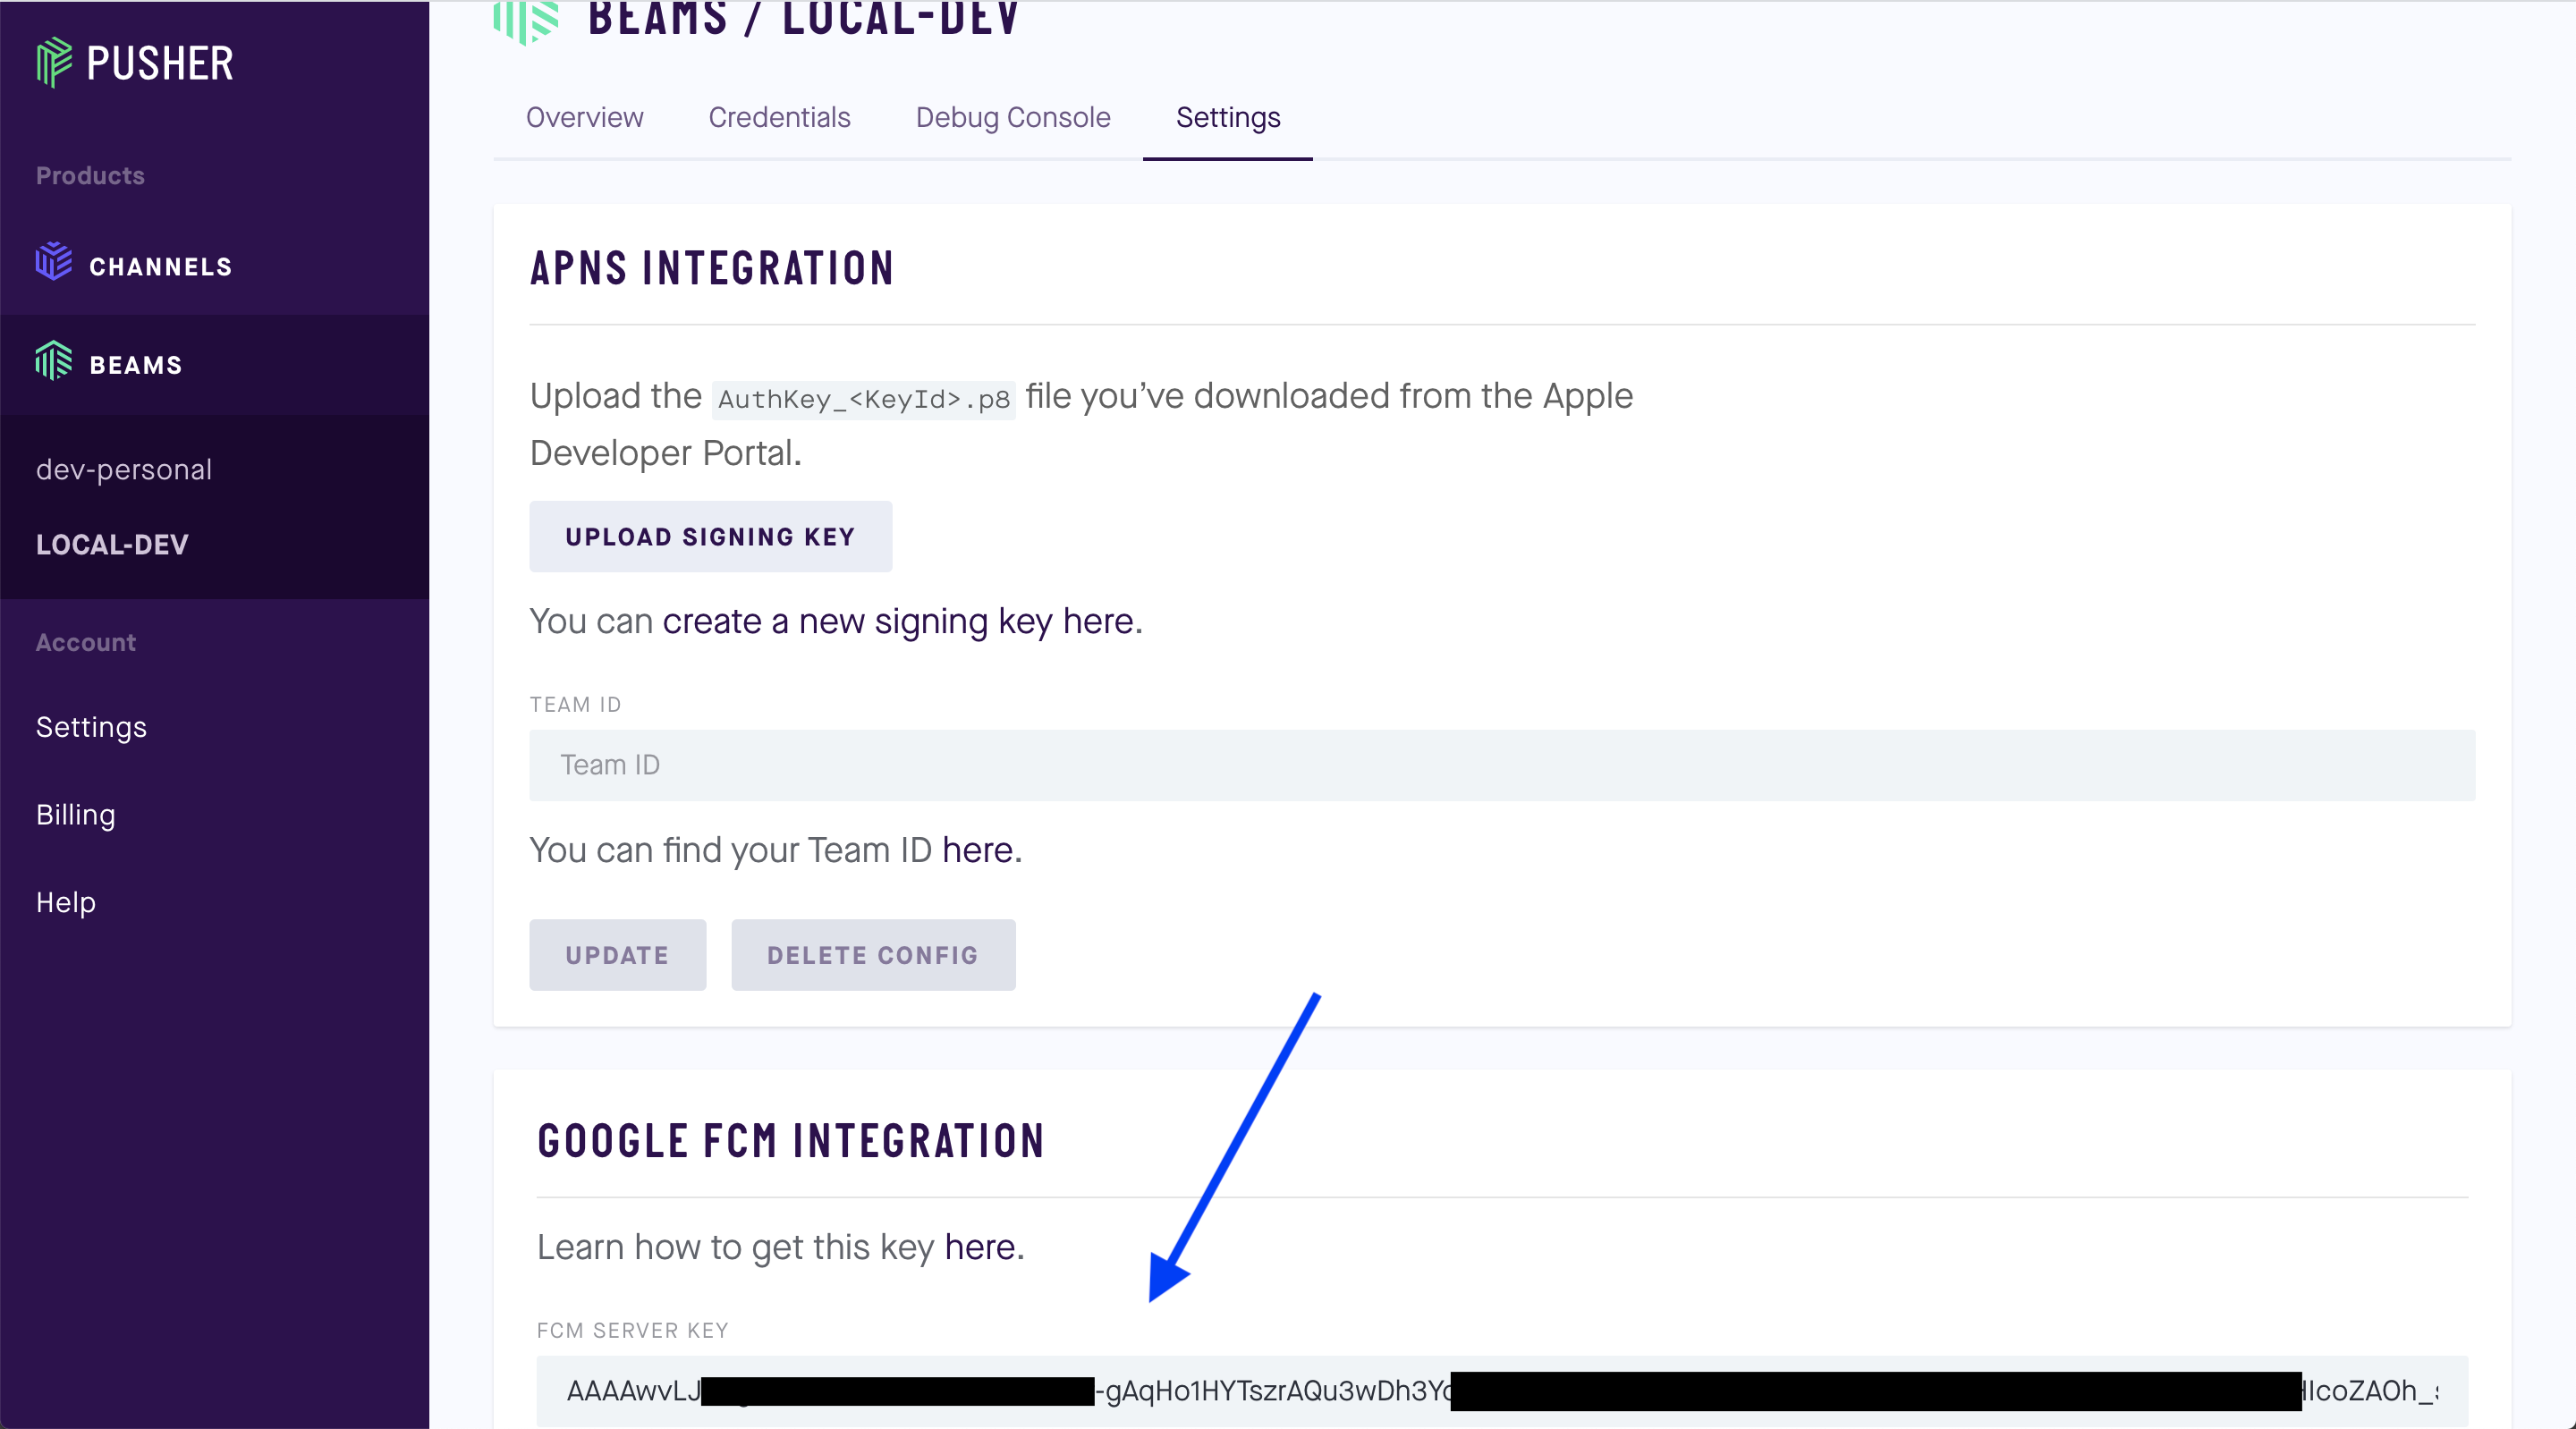
6. Now back in your Pusher Beams page account add the Server key from the
|
|
previous step under the "Settings" tab
|
|
|
|
|
|
|
|
7. Done.
|