
7.6 KiB
There are a few services you'll need (all free) in order to run the development server and access the app locally. Here are the instructions for getting them:
Algolia
Choose OAuth or Email Sign Up
Algolia: OAuth Sign Up
- Click this link and sign up for an account with either GitHub or Google.

- Select your region, and then hit "Let's get started!"

- Skip the tutorial (or don't) and go to your dashboard.

- Click "Go to your dashboard".

-
Agree to Terms and Conditions.

-
Click "API Keys" on the left navbar.

- Change your keys accordingly (name of Algolia key -> name of our application key):
Application ID -> ALGOLIASEARCH_APPLICATION_ID
Search-Only API Key -> ALGOLIASEARCH_SEARCH_ONLY_KEY
Admin API KEY -> ALGOLIASEARCH_API_KEY

- Done!
Algolia Email Sign Up
-
Click this link and sign up for an account with your email address.

-
Fill out your name and what describes you the most.

-
Choose your datacenter/region closest to you.

-
Skip the step asking about your project.

-
Complete the onboarding flow and click "Go to dashboard".

-
Click "API Keys" on the left navbar.
- Change your keys accordingly (name of Algolia key -> name of our application key):
Application ID -> ALGOLIASEARCH_APPLICATION_ID
Search-Only API Key -> ALGOLIASEARCH_SEARCH_ONLY_KEY
Admin API KEY -> ALGOLIASEARCH_API_KEY
- Done!
That's it! You should try logging in with development, it should work. If it doesn't, let us know via an issue or in the contributors channel!
The following are optional, but are probably things you'll run into. That said, if you're working on tests and other things, you shouldn't need these.
For authentication, you can choose Twitter, GitHub, or both.
Twitter App
- Click this link and sign in/sign up for a Twitter account. Note that your Twitter account will need a phone number linked to it in order to create an app.
- Create a new app, and fill out the form, like the following example image:

The only important field is the "Callback URL" http://localhost:3000/users/auth/twitter/callback, which redirects you properly to localhost:3000 when signing in.
- Once done, go to your app's settings, and fill in the terms of service
http://dev.to/termsand privacy policy URLhttp://dev.to/privacy:

-
Once done, go to your app's permissions, and check the "Request email addresses from users" box.

-
Change your keys accordingly: (name of Twitter key -> name of our application key):
Access Token -> TWITTER_KEY
Access Token Secret -> TWITTER_SECRET
- Done!
GitHub
- Click this link and sign in/sign up for a GitHub account.
- Once signed in, create a new OAuth app. Here's an example; the URLs must match the example:

- Change your keys accordingly; (name of GitHub key -> name of our application key):
Client ID -> GITHUB_KEY
Client Secret -> GITHUB_SECRET
- Done!
Stream
- Sign up for an account with this link, using either your email or GitHub.

- Click "View Dashboard" at the top right corner.

- In the next page, click "Add New Feed Group".

- Add a new feed group with the type "Notification" and name it
notifications(case sensitive).

-
Make sure you have a feed group with the type "Flat" and named
user(case sensitive). You probably do, but if you don't, create one like you did with the notifications feed group. -
Change your keys accordingly: (name of Stream key -> name of our application key):
Key -> STREAM_RAILS_KEY
Secret -> STREAM_RAILS_SECRET
"https://us-east-api.stream-io-api.com/api/v1.0/" -> STREAM_URL
- Done!
Pusher
-
Sign up for a free account with this link.
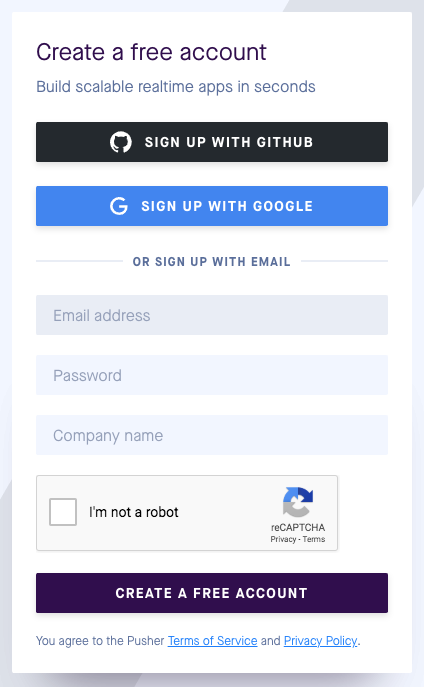
-
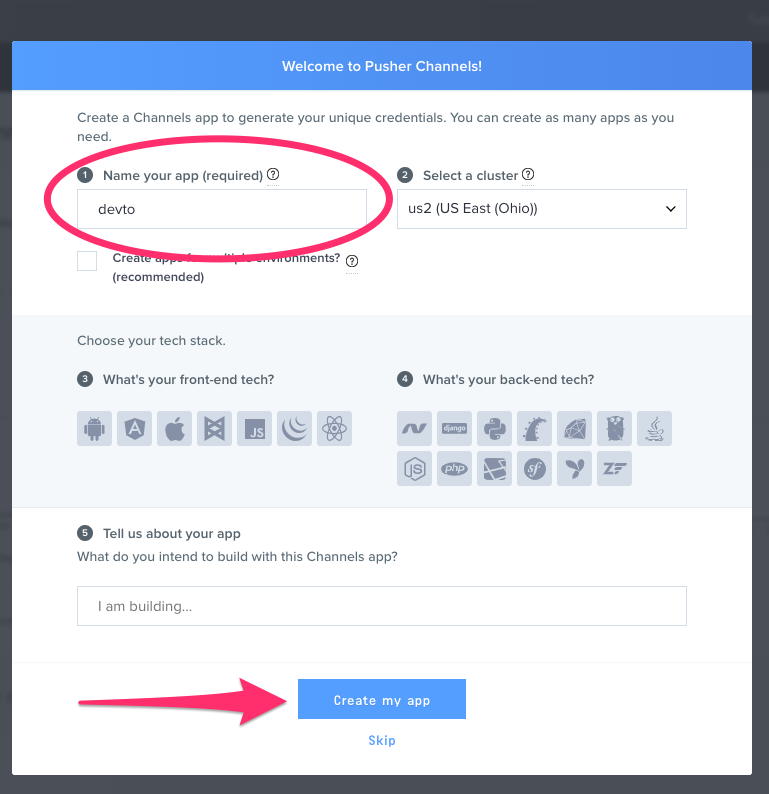
Once signed in, fill out the prompt to create a new Pusher Channels app. Only an app name is required.
-
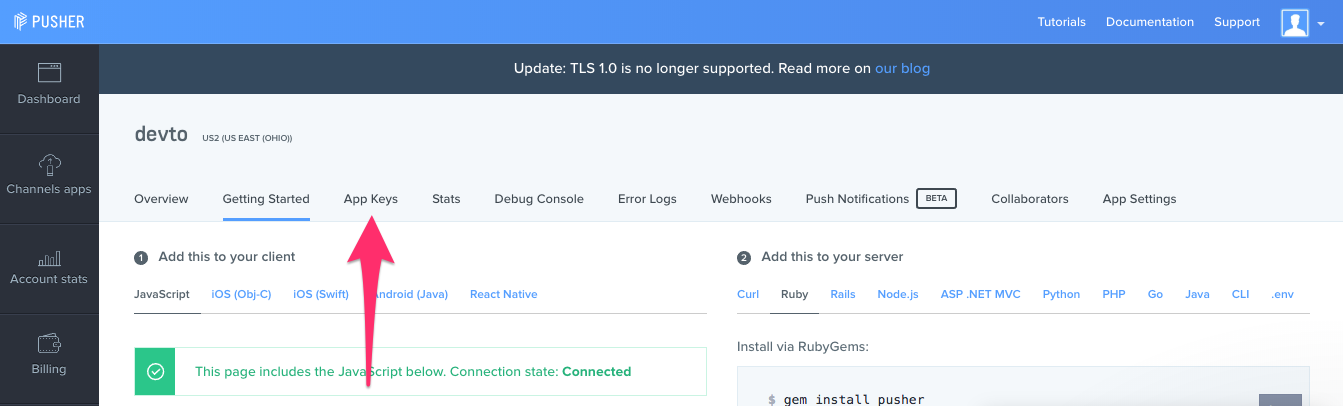
In your new Pusher Channels app, click the "App Keys" tab.
-
Change your keys accordingly (name of Pusher key -> name of our application key):
app_id -> PUSHER_APP_ID
key -> PUSHER_KEY
secret -> PUSHER_SECRET
cluster -> PUSHER_CLUSTER
- Done!